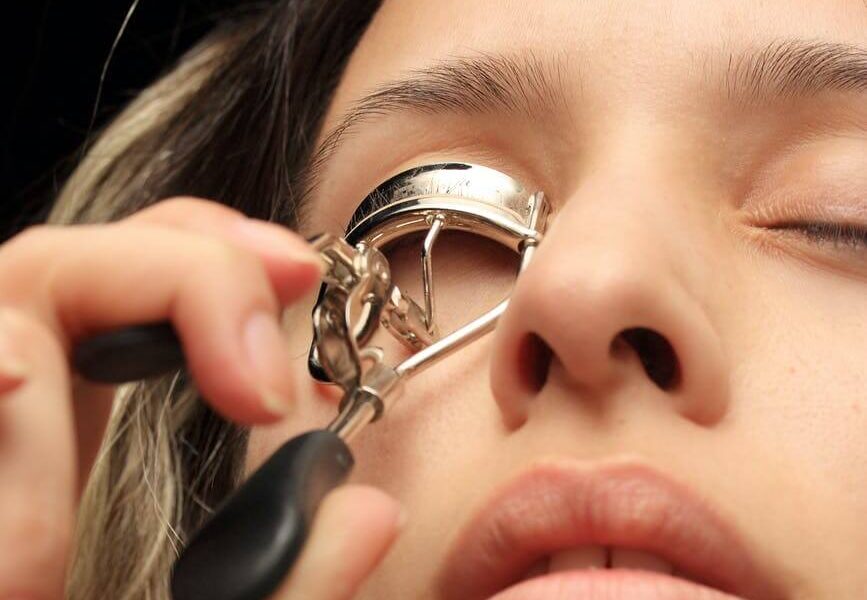
Have you ever had a hard time using an eyelash curler? It can be challenging when you use it for the first time, but with a little knowledge, it becomes much easier.
To summarize, curling is the key to achieving beautiful eyelash makeup. Let’s delve into the details: C-curls and J-curls are the typical options.
Depending on your preference, you can achieve either a natural eyelash makeup or a more doll-like eyelash makeup.
How to Use an Eyelash Curler
Step 1. Select the Right Eyelash Curler
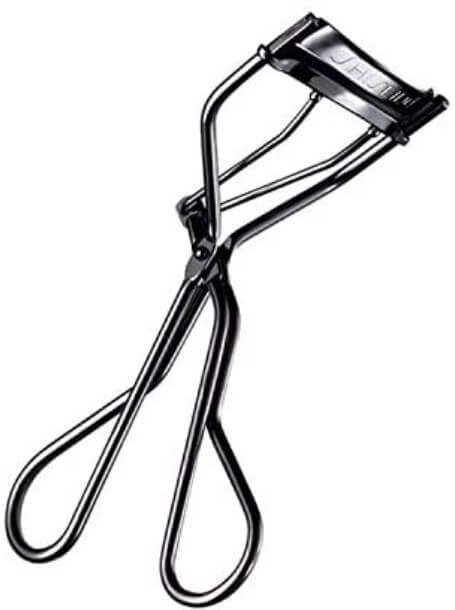
Shiseido
Choose an eyelash curler that best matches your eye shape. For ordinary eyes, the Shiseido Eyelash Curler is a good option.
Step 2. C-curls and J-curls
- J-Curl: Position the curler as close to the roots of your eyelashes as possible. The J-curl refers to the shape of the eyelashes curling up near the roots. Be gentle and adjust the force, as applying too much pressure can cause lashes to fall out. Use the curler two or three times without excessive force.
- C-Curl: Place the eyelash curler a little distance away from the roots of your eyelashes to achieve natural C-curls. Again, use gentle pressure and repeat the process two or three times.
Step 3. Apply Mascara
Use a comb-shaped mascara wand to apply force at the root of your lashes and pull it upward to the tips.
Step 4. Emphasize Individual Lashes
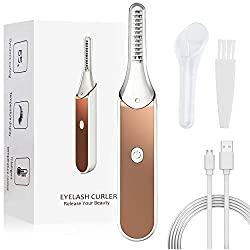
Feulover
Use the vertical end of the mascara wand to emphasize each lash individually.
My Tip : This eyelash curler is like an iron for your lashes. Apply mascara after using this product, and you’ll enjoy beautifully curled C and J lashes for a long time.
Reference Photo by Engin Akyurt from Pexels www.maccosmetics.com www.shiseido.com
