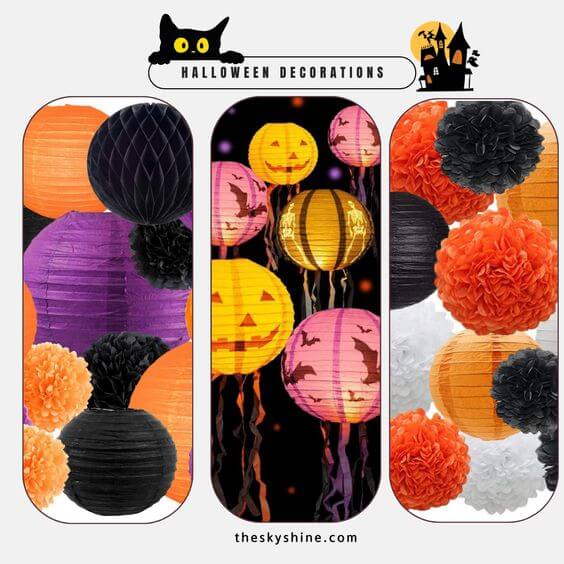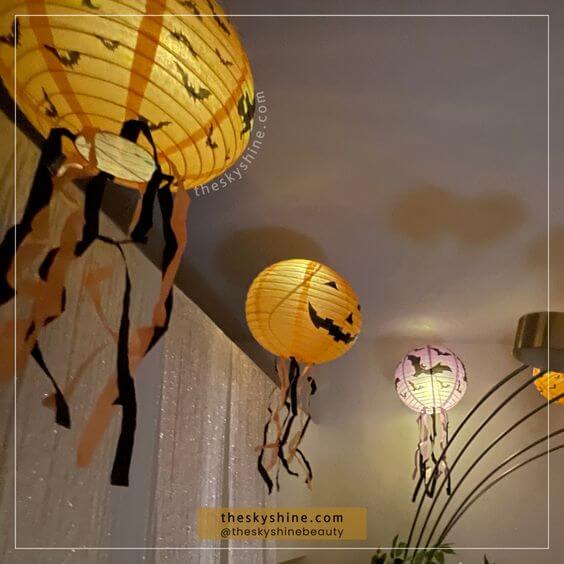
DIY paper lanterns can easily and quickly transform your ceiling into a captivating atmosphere. This article provides a step-by-step guide on how to secure them to the ceiling with tape for over two weeks, even if there are no hooks on the ceiling.
DIY Ceiling Decor for Halloween
- The Halloween paper lanterns: Haloowoo, $15.95, 10 Pcs
- The Fishing Line: PH PandaHall, $5.99, Clear color
- The Clear Tape: Scotch, $14.99, 6 Tape Rolls
- The Hanging LED Lights: KITOSUN, $24.99, 30 Pack
If you choose to purchase something from theskyshine using links, I may receive a small commission. And the prices of products sold on Amazon change from time to time. I wrote down the price when I found this item
Step 1. Prepare Your Lanterns
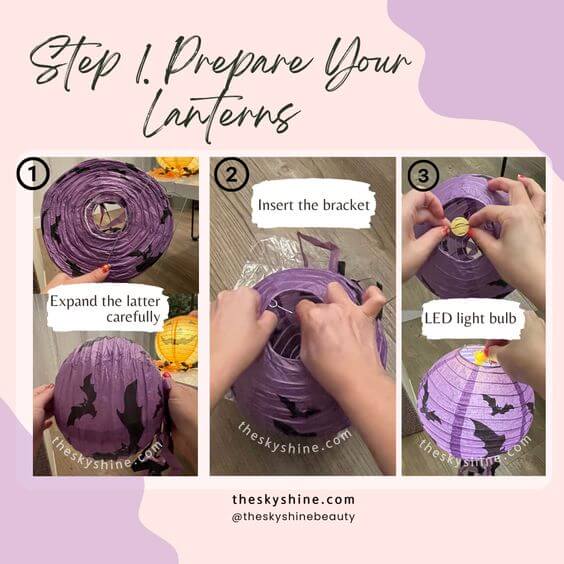
Assembling these lanterns is a breeze. Simply assemble your lanterns and insert the LED string lights, ensuring that the cords dangle down from each lantern equipped with an LED light.
Get the look: Halloween Budget-Friendly Decor
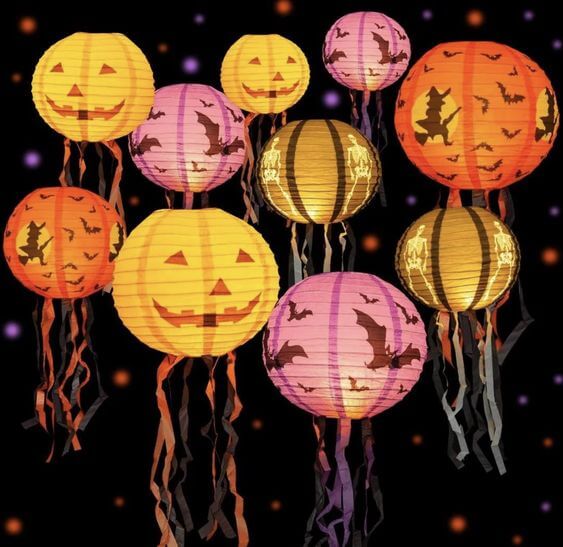
Haloowoo
size: 10 Pcs with LED Light
Step 2. Measure and Cut Line
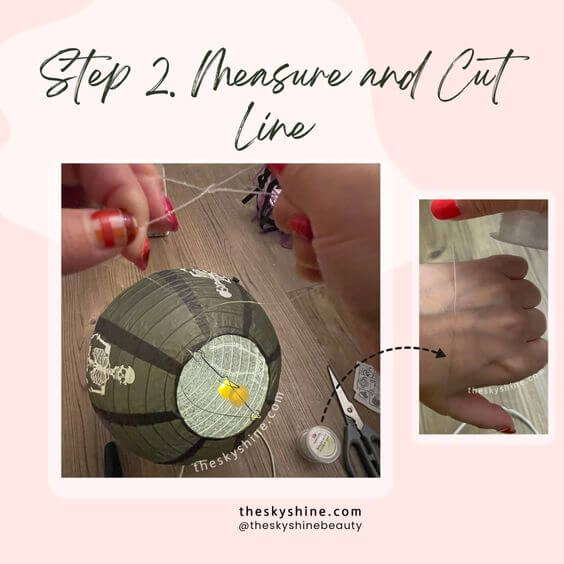
Measure and cut the fishing line into equal lengths to hang your lanterns at your desired heights.
Get the look: Garland Hanging String for Holiday Ornaments
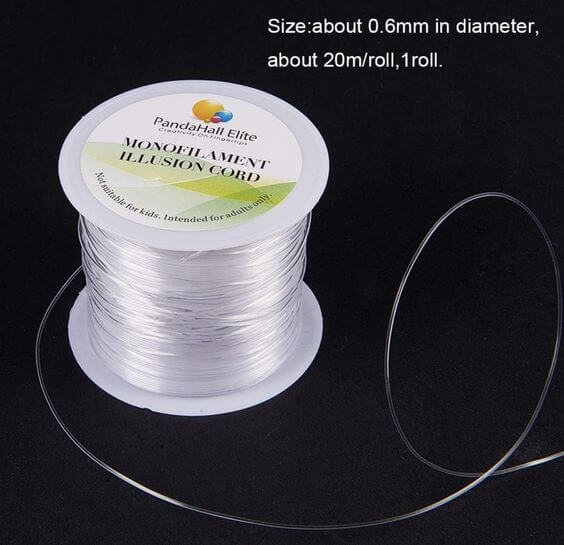
PH PandaHall
Color: Clear
SIZE: 0.6mm
Step 3. Attach and Hang the Lanterns
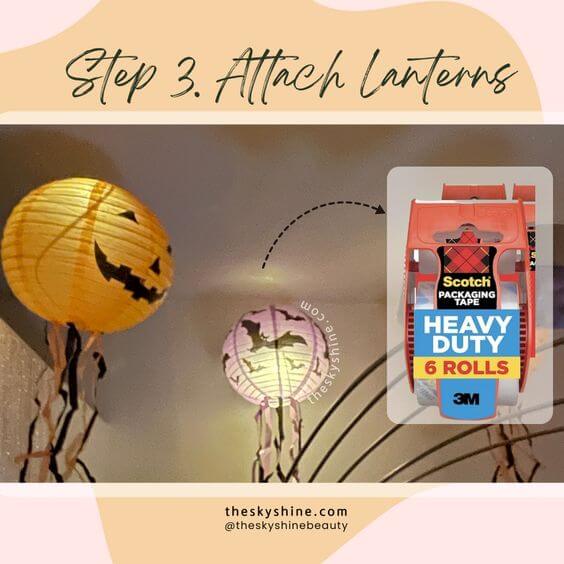
Securely attach the lanterns to the fishing line, ensuring they’re evenly spaced.
Then, climb the ladder and hang your lanterns from the ceiling hooks. If there are no hooks on the ceiling, you can easily attach them with tape, and they can stay in place for more than two weeks.
Get the look: Heavy Duty Shipping Packing Tape

Scotch
size: 6 Tape Rolls
Step 4. Illuminate
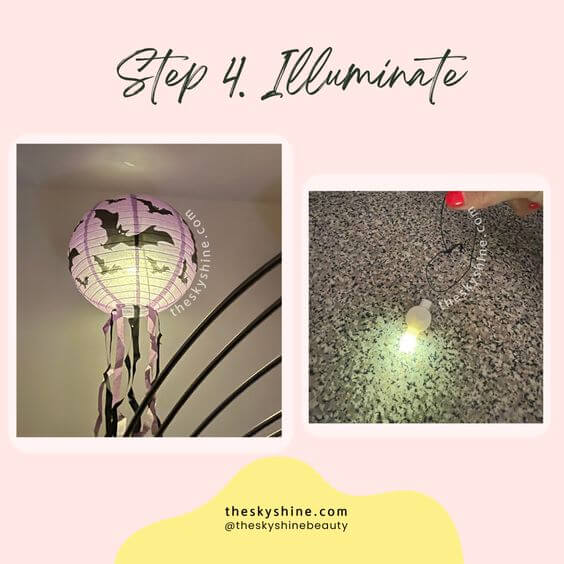
If you need more lighting, you can easily hang lights to create a soft atmosphere. These Hanging LED lights tend to have a lifespan of about 3 days, so if you want to create an atmosphere with lighting, it is recommended to purchase them in large quantities.
Get the look: Warm White Hanging LED Lights
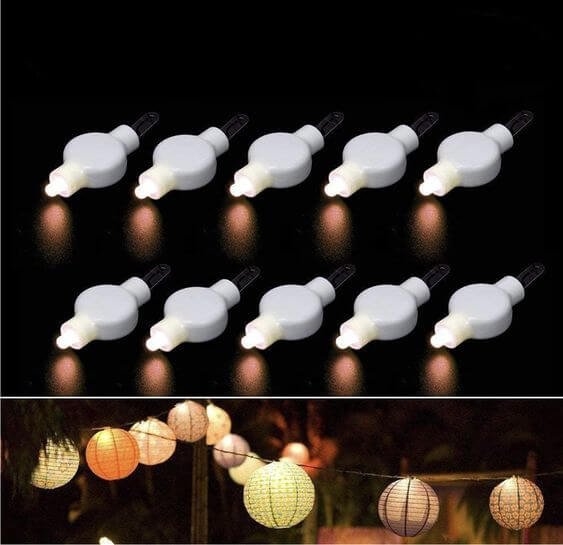
KITOSUN
size: 30 Pack
Related Posts: Festive Lanterns

